This tool is available only when using classic WP page editor, because Elementor users prefer using its templates.
But you still may want to know that The7 allows to configure default post and page options (fig.1) for:
- header;
- sidebar;
- footer;
- page margins;
- post options (hide featured image, etc).
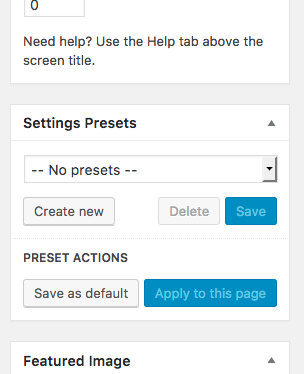
Fig. 1. Settings Presets.
It can be done for both newly created posts and already existing ones.
Newly created posts
Firstly, you need to configure any post the way you want (for example, apply fancy title, set sidebar to the left). When it’s done, refer to “Settings Presets” tab and click “Save as default” (fig.2.1)

Fig. 2.1. Save as default.
When it is saved, you will see appropriate pop-up message (fig. 2.2):
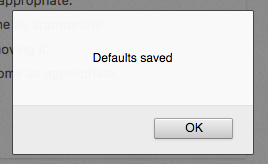
Fig. 2.2. Settings are saved.
Starting from now, all newly created posts will have these settings you just have saved. Please consider that Default settings do not affect already existing posts.
Already existing posts
This tool also allows to create presets with specific options and apply these presets to any existing posts. Configure a post the way you want (for example, apply fancy title, set sidebar to the left). When it’s done, refer to “Settings Presets” tab and click “Create new” (fig.3.1):
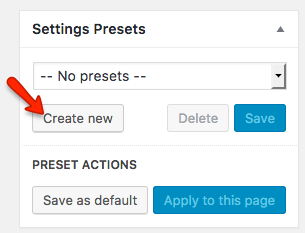
Fig. 3.1. Create new settings preset.
Type-in title of the preset and click “OK” (fig. 3.2):
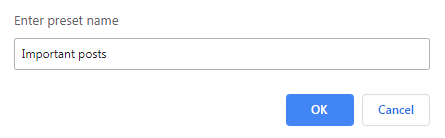
Fig. 3.2. Name the preset.
Save the preset (fig. 3.3) and wait for the confirmation pop-up:

Fig. 3.3. Save the preset.
Now, you can go to any other post, select this preset (fig. 3.4):
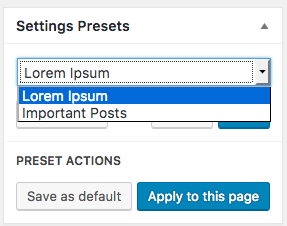
Fig. 3.4. Select preset.
and click “Apply to this page” (fig. 3.5). That’s all!

Fig. 3.5. Apply preset to a page.
You can also remove a certain template by clicking “Delete” button.
How to edit multiple posts in a single click?
If you need to apply settings preset to numerous posts, try using “Bulk Action”. Go to posts list and select “Edit” (fig. 4.1):
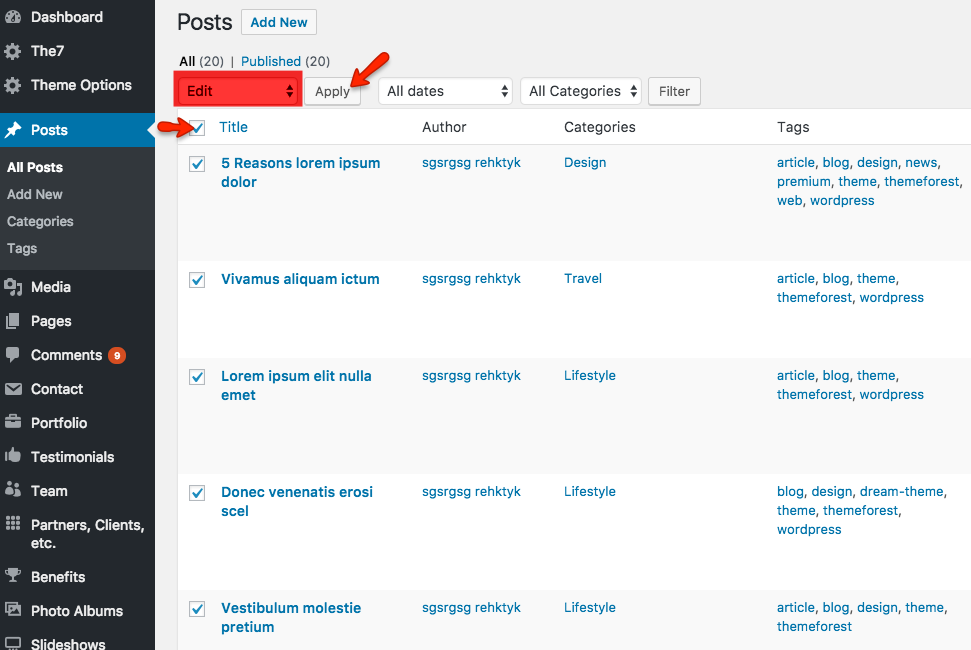
Fig. 4.1. Bulk action.
Bulk options screen will appear. Select required preset (fig. 4.2) and click “Update”.
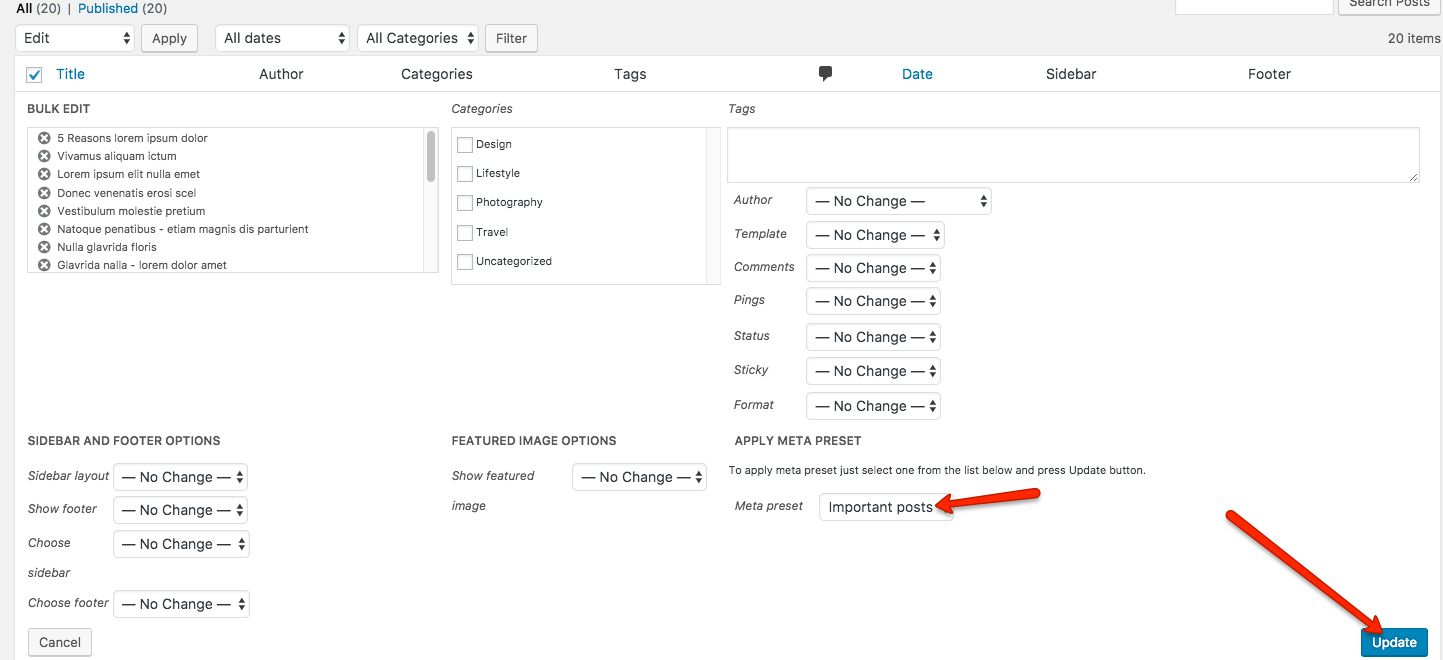
Fig. 4.2. Select preset and save.