All slideshow settings are gathered inside the “Slideshow Options” box.
Note that in order to display a slideshow in page header, you’ll need to create at least one slideshow in corresponding post type:
- in “WP-admin > Slideshows” for Porthole and Photo scroller;
- in “WP-admin > Revolution Slider” for Slider Revolution.
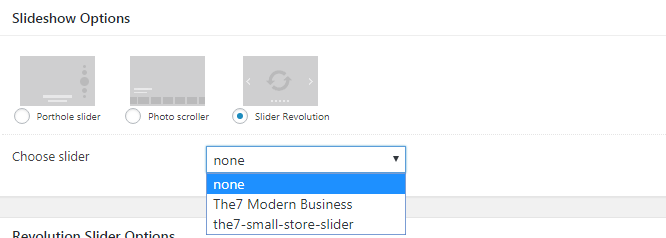
When you select slideshow option in Default mode, you will get an option to place it above or below header (fig. 1).
You can choose from the following slideshows:
Slider Revolution
The7 is delivered together with extremely popular Slider Revolution plugin. Read on how to install it here. In Slideshow Options (fig. 2.2), you just need to select which slideshow to display and… that’s it.
Porthole Slider
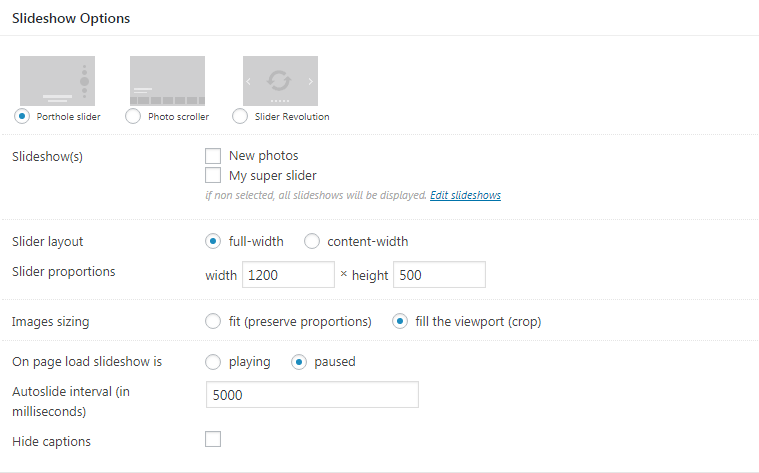
After choosing this type of slider, you will be presented with following options (see fig. 3.2) :
- In the multi-select (or checkbox group) box called “Slideshow(s)” you can specify which slideshows from corresponding post type will be shown on this page. Note that if you do not select any slideshow, all of them will be displayed on this page.
- Slider layout: full-width (will be huge on “non-boxed” sites) or content width.
- Set slider layout and its proportions. Note that since theme is responsive and has no fixed width, you need to specify slider proportions rather than absolute values.
- Select image sizing. This feature is important if you have portrait images and do not want them to be cropped. Simply select the “fit” option. Otherwise select “fill” to make every image fill entire slider area.
- Also you can enable slider autoplay and set its interval.
- Hide slider captions.
Photo Scroller
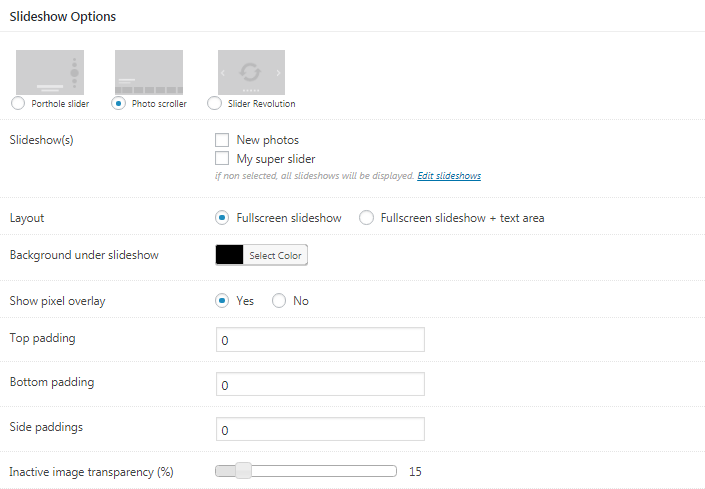
Settings for this slider are very complicated (see fig. 4.2). However, it allows you to craft slider layout carefully and make showy “slider-gallery” type pages. We highly recommend this slider for photographers.
Settings for Photo Scroller:
- In the checkbox group called “Slideshow(s)” you can specify which slideshows from corresponding post type will be shown on this page. Note that if you do not select any slideshow, all of them will be displayed on this page.
- Layout: fullscreen slideshow (will hide text area) or fullscreen slideshow + text area.
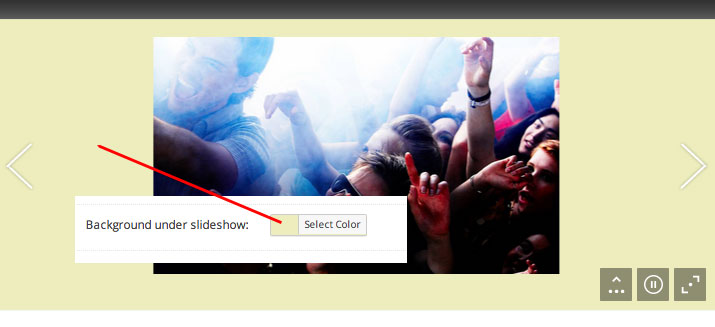
- Background behind the slider (fig. 4.3).
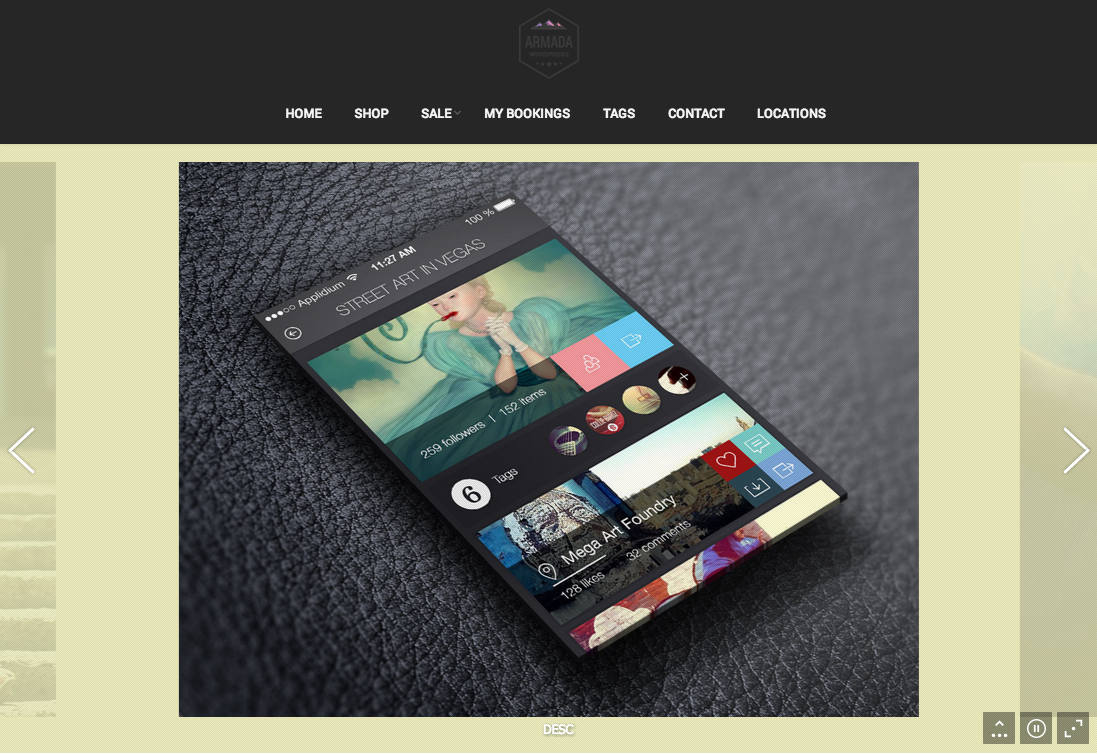
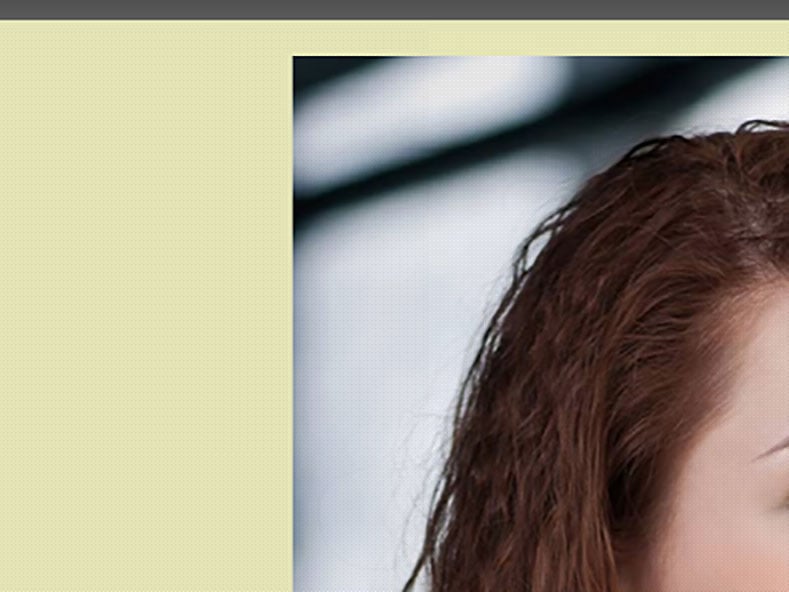
- Show/hide pixel overlay. Pixel overlay is handy if you are uploading images with relatively low resolution – it will mask upscaling artifacts (fig. 4.4):
- Top padding.
- Bottom padding.
- Side paddings (paddings between slides).
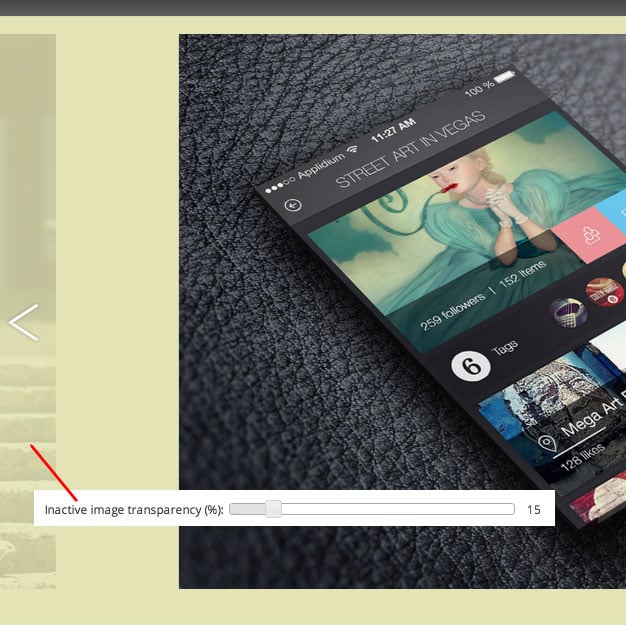
- Inactive slides opacity (fig. 4.5):
- Thumbnail stripe. You can hide/show it by default or disable it altogether (fig. 4.6):
- Thumbnails width and height.
- Specify slider default state: playing or paused.
- Autoplay speed (interval).
- 2 blocks of settings for landscape and portrait images: min and max width, filling mode (fit or fill) for desktops and mobile devices.
Last 2 blocks of settings make this slider very powerful – it allows you to craft a regular slideshow or a scrolling stripe of photos from it.

