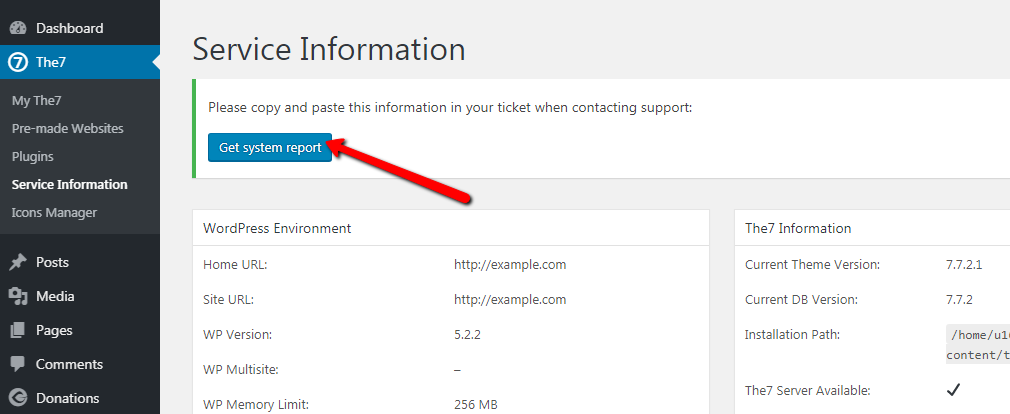
You can import pre-made websites via The7 > Pre-made Websites interface. It allows to import an entire demo website or a certain page from this demo (fig. 1):
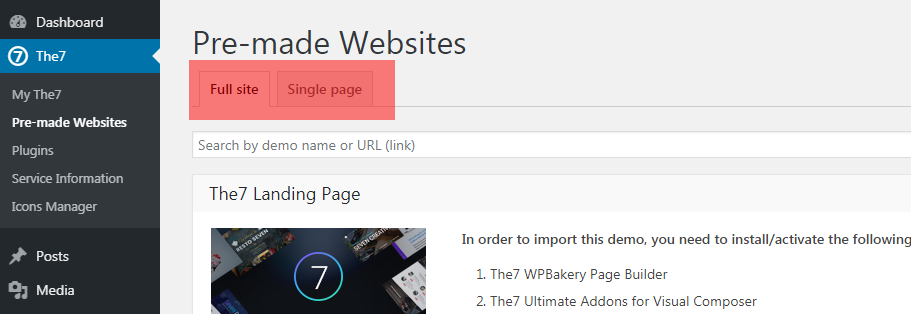
Fig. 1. Import pre-made demo.
Full Site Import
You can find all our demo websites here and import one of them using the “Full Site” tab interface (fig. 2):
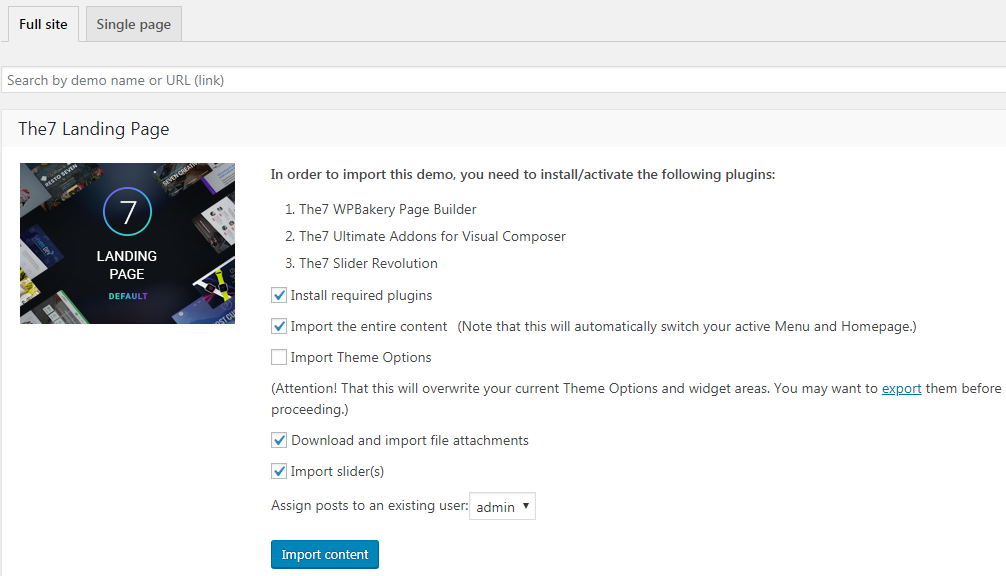
Fig. 2. Full site import.
In case you are missing some plugin, which is required for this website functioning, the interface will offer you to install these plugins. It will also allow you to decide whether you want to import:
- entire content (meaning menus, front page settings, etc.);
- theme settings;
- download images and other attachments;
- import Revolution slider.
Useful tips:
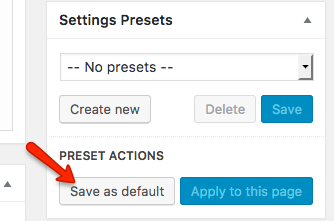
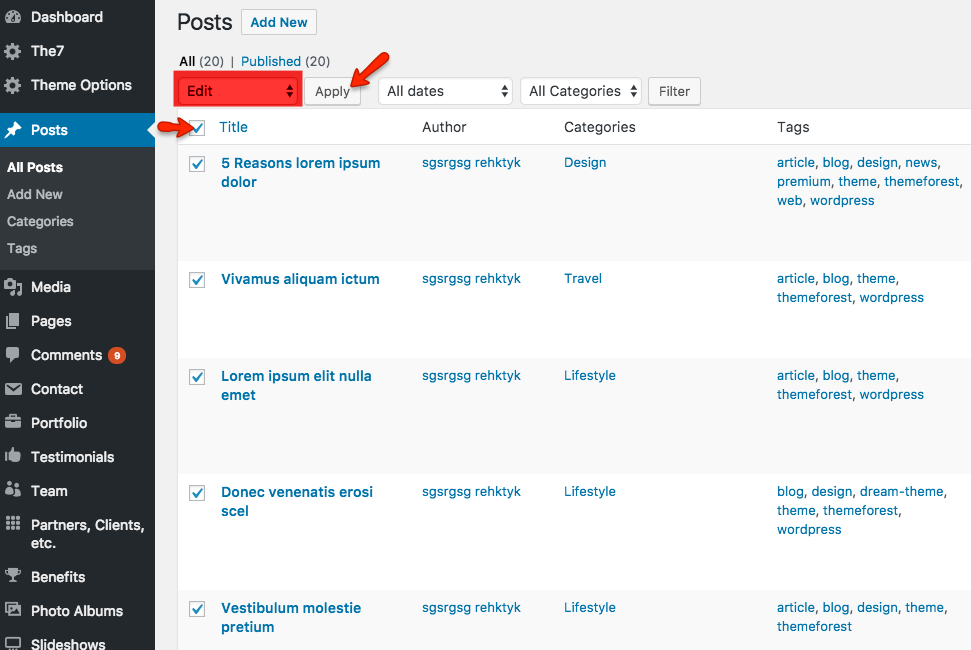
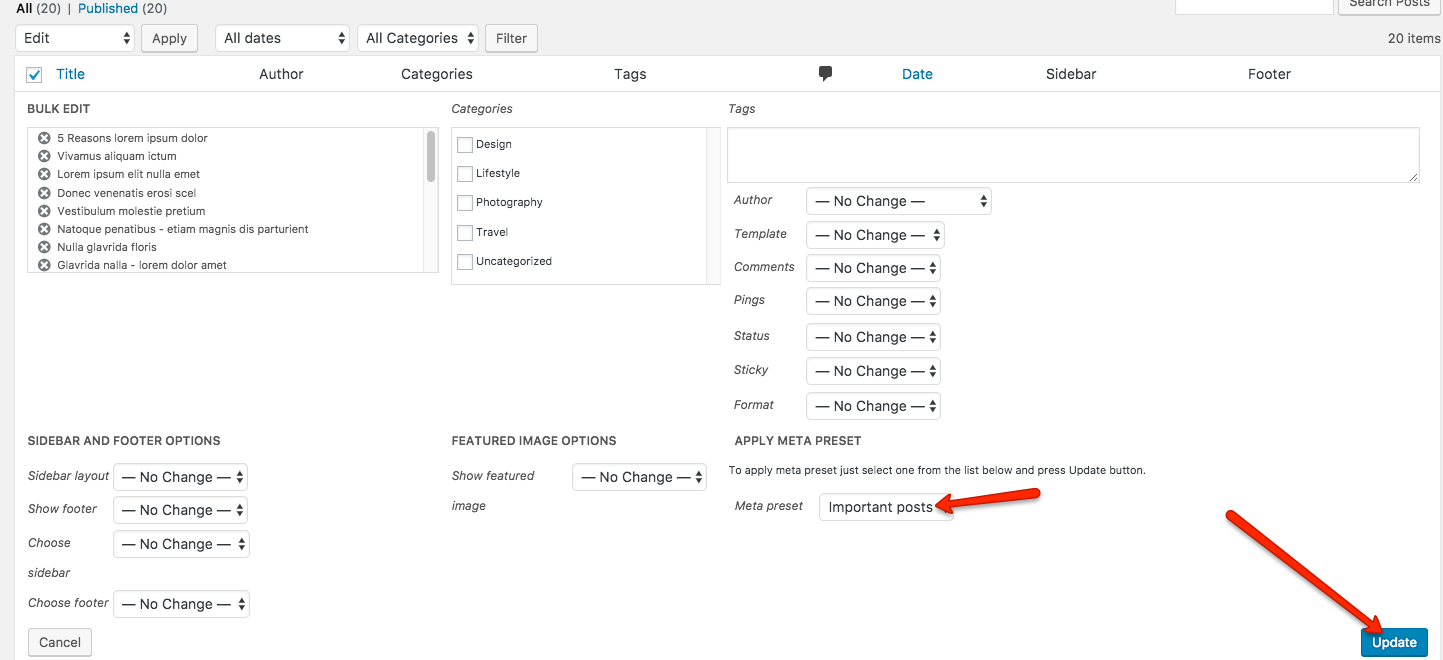
If you are testing different demos and going to remove demo content later, it would be wise to create a new user and assign demo content to it (fig. 3). Later, you can filter demo content by author and remove it or delete the user along with demo content.

Fig. 3. Assigning temporary author for demo content.
To avoid timeout issue while importing demo, import one at a time, i.e. first import the contents, then the attachments, sliders etc.
If you faced problems importing demo content, make sure that your php.ini settings are not less than:
max_execution_time = 240
memory_limit = 256M
post_max_size = 64M
upload_max_filesize = 64M
You can contact your hosting company for more details and assistance on it.
When the import has been completed, “Remove content” button shows up (fig. 4). It allows to remove the demo content, including Theme Options. In case you have imported multiple demos (Demo 1, Demo 2, Demo 3), you’ll need to remove them in the opposite order (Demo 3, Demo 2, Demo1).
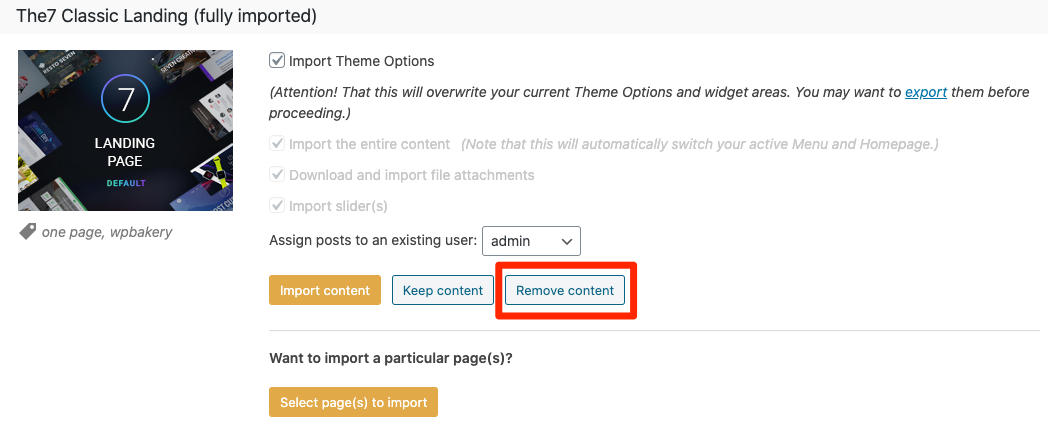
Fig. 4. Remove imported content.
You can also use “Keep content” button in order to make the imported content permanent.
Single Page Import
If you want to import some specific single page from a pre-made website, simply copy-paste its URL into the appropriate field of the Single Page interface (fig. 5) and click “Import”. Please consider, this interface is meant to be used for importing pages only.

Fig. 5. Import a Single page
If you want to import specific post from The7 custom post types (portfolio, album, etc.), please refer to “Full Site” tab, “Want to import a particular page(s)?” select whether you want to import portfolio, album or something else (fig. 6) and select the specific post by its title. Finally, click “Import post”.
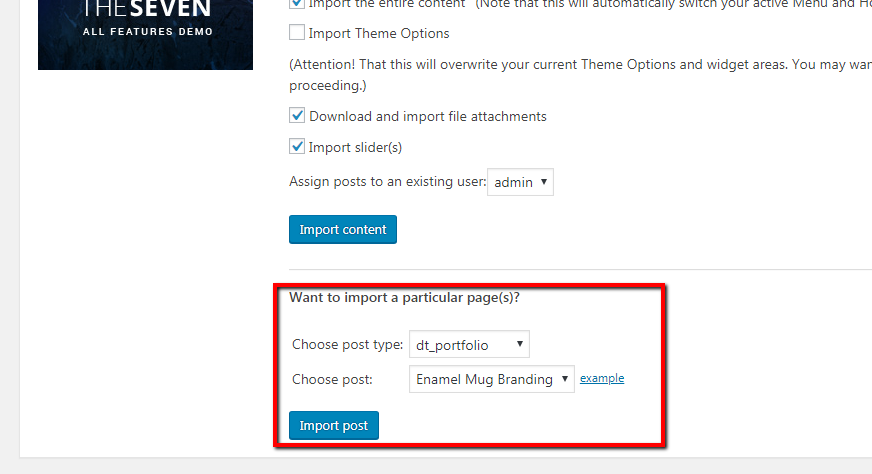
Fig. 6. Import The7 post type.
WPBakery Page Builder
Please refer to WPBakery Page Builder > Design Settings and click “Save”.
GO Pricing Tables demo content
Find GO Pricing Tables demo inside theme ZIP pack, /Pre-made Websites Resources/ folder and select demo content you need. For example, Go_pricing_tables-main.txt for the Main demo.
Follow Dashboard > GO Pricing > Import & Export, select action: Import, select demo file and import.
You can find all available PSD and other graphical resources from our demos here.