1. Install WordPress
Download and Install the newest version of WordPress.
2. Upload Theme
Before proceeding, please make sure that following plugins are not installed or deactivated:
– WP-pagenavi;
– WP-less;
– Options Framework;
– any plugin that uses tgmpa (TGM Plugin Activation) and lessc (lessPHP) classes.
If you’ve downloaded the whole theme package (see fig. 1.1), unzip it. Inside you will find the theme installation file (called “dt-the7_v.zip”), quick start guide, license folder, folder with PSD files, etc.

Fig. 1.1. Theme Package.
Alternatively you can simply download the installable WordPress file (see fig. 1.2).
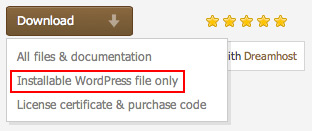
Fig. 1.2. Installable file.
To install the theme, in your WordPress Admin Panel (wp-admin) go to “Appearance > Themes > Add New > Upload Theme > Browse” (see fig. 2) and choose the theme installation file.
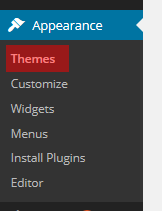
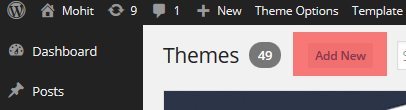
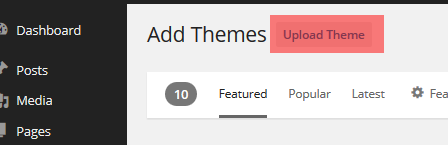
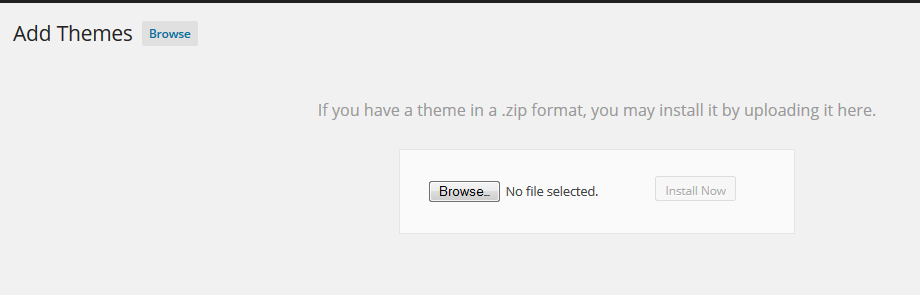
Fig. 2. Choose theme to install.
If any error appears, most probably, your hosting has file size limit. You can contact your hosting provider and ask to ease this restrictions (e.g 32MB will do).
Otherwise you can install theme via FTP. Simply unzip the installable file and upload the theme folder via FTP into “your_site/wp-content/themes/”.
If above steps did not yield any results, please don’t hesitate to address this issue directly to your hosting company. Since this is most likely a server-related problem, we will not be able to help you!
3. Activate Theme
In “Appearance > Themes “ activate the Theme by hitting the correspondent “Activate” link.
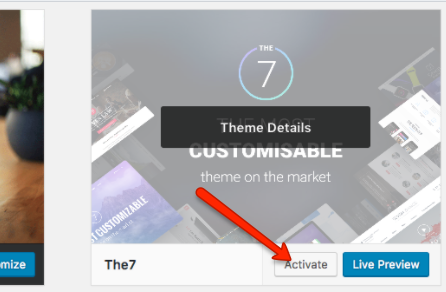
Fig. 3. Theme activation.
4. Theme registration
After theme activation you will see a “The7” menu (fig.4.1). Please enter your Item Purchase Code into the appropriate Dashboard field in order to register the theme and get access to pre-made websites, premium plugins, one-click updates and more:

Fig. 4.1. The7 menu.
Note that in case you want to use your purchase code on other domain name (e.g. when you are moving a site from one domain to another) you’ll need to deregister the theme first (fig. 4.2):

Fig. 4.2. Deregister the theme.
Also note that running multiple websites on a single license is a copyright violation. In other words it is a serious legal offence and is strictly prohibited. Remember 1 site = 1 purchased license.
Now you can start installing plugins (fig.4.3):
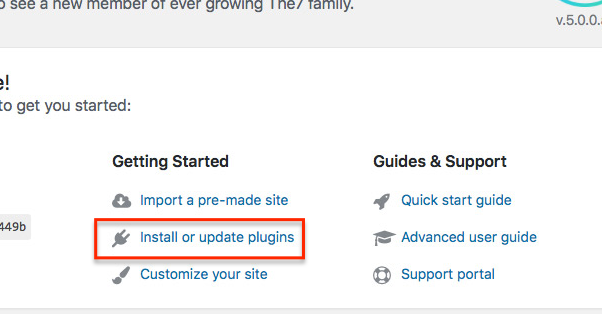
Fig. 4.3. Install bundled plugins.
Please refer to these articles for details on:
5. Import Pre-made Websites
You can import pre-made websites (also called “demo websites”, “demo content” or just “demos”) via The7 > Pre-made Websites interface (fig. 5):
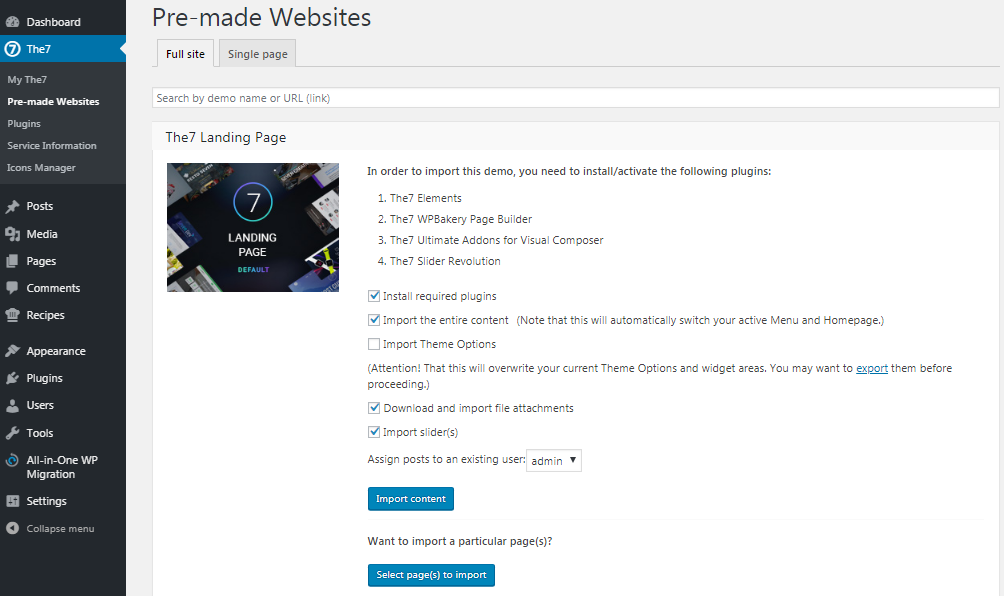
Fig. 5. Website import options.
Please refer to these articles for details: Import demo content.
6. Update Theme
You can update the theme in a usual WP way through Appearance -> Themes (fig.6).
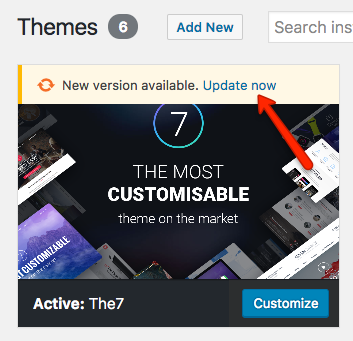
Fig. 6. Theme update.
Then go to Dashboard -> The7 -> Plugins and update plugins.
Finally, update database (if popup message show up) – see fig. 7.
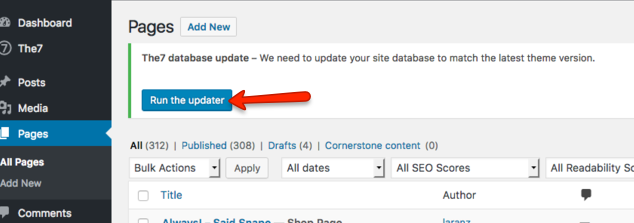
Fig. 7. Update database.