The7 theme used to have 7 custom post types:
- Portfolio
- Testimonials
- Team
- Partners, Clients, etc.
- Benefits
- Photo Albums
- Slideshows.
Most of layouts built with help of these post types can be replicated just with help of WPBakery Page Builder. Therefore, you can decide which post types should be disabled, and which ones should stay active, in Dashboard -> The7 -> My The7 (fig.1).
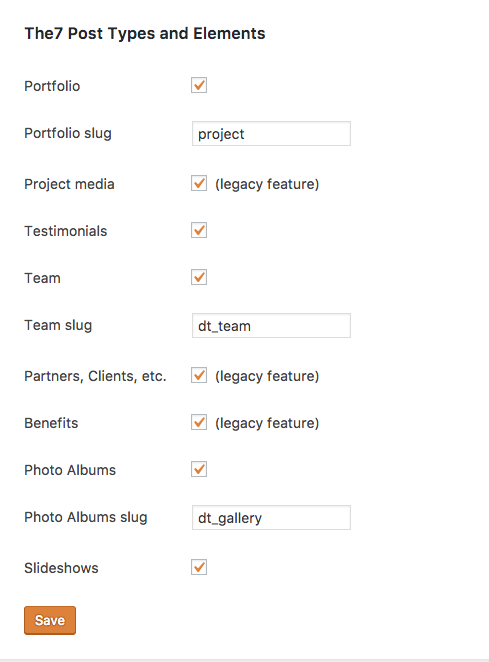
Fig.1. Enable/Disable custom post types.
You can also manage post types slugs (URL) there.
If post types are enabled, you can find more settings in Theme Options -> Post Types (Meta information, Previous & next buttons, etc.). You can find more information about post types below:
This Theme Options tab allows to adjust advanced theme settings, add custom CSS and JS.
Advanced Settings
Here you can:
- set top & bottom margins for pages, posts & templates (see fig. 1);
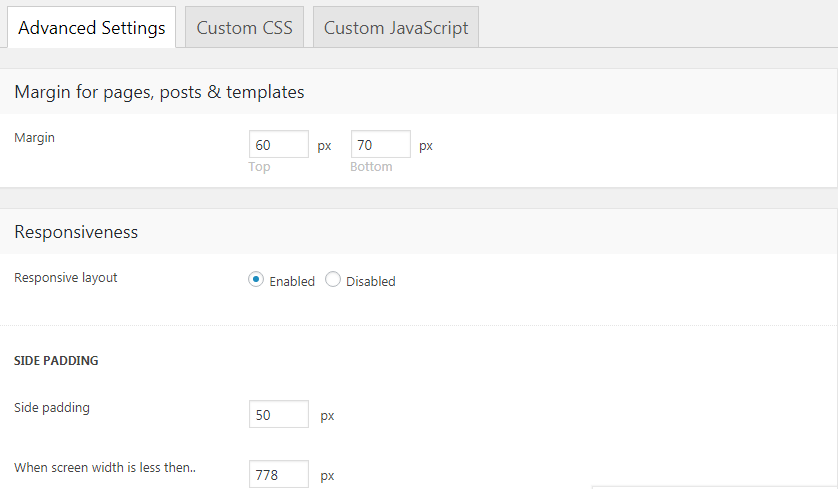
Fig. 1. Advanced settings.
- enable/disable responsive layout;
- specify side padding (for desktop and mobile layouts);
- turn on/off image lazy loading;
- enable smooth scroll;
- enable images fast resize (improves page loading);
- normalize resize event on mobile devices (improves scrolling performance).
Custom CSS
Insert your custom CSS rules into appropriate text area (see fig. 2).

Fig. 2. Custom CSS.
Custom JavaScript
Add tracking code (e.g. Google Analytics) or any other arbitrary JavaScript here. Don’t forget to wrap your code into <script> tag.
This option allows to select page (fig. 1) layout for archives, search results, etc.
For example, you have “My Sample” page with page title aligned to the right and sidebar on the left. If you select this page in Theme Options -> Archives and 404 -> Archives, it means that all archive pages will also have page title on the right and sidebar on the left.
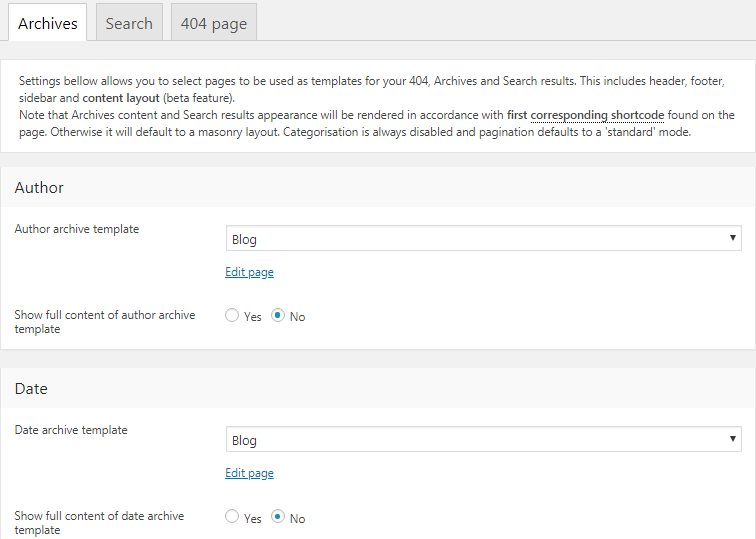
Fig. 1. Archive Settings.
You can configure archive pages for blog posts, portfolio and photo albums, as well archives by an author and by date. Also, there are tabs for configuring search results page and 404 “Not Found” error page.
Content Layout
Archives content and Search results appearance is rendered in accordance with first corresponding shortcode found on the page. Otherwise it will default to a masonry layout. So you need to insert a WPBakery “Blog” element to the page and configure it. Categorization is always disabled and pagination defaults to the ‘standard’ mode. Please note, this approach works only with WPBakery shortocde, not a page template (fig. 2).
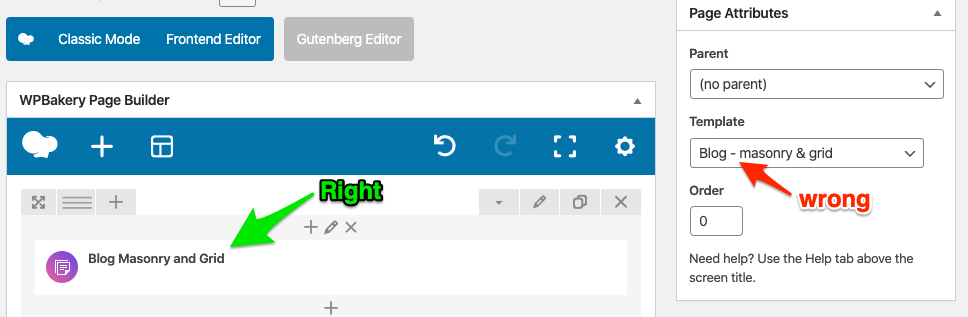
Fig. 2. Archives pick up settings from WPBakery shortcode, not a page template
You can manage elements behavior on desktop/mobile devices with Responsive Column Controls: hide a row/column in mobile and display another one, etc.
Checkout other WPBakery Page Builder videos here
Note that page Theme Options > WooCommerce is optional and will appear only if you have WooCommerce plugin installed and activated.
WooCommerce settings are divided into 3 tabs (fig. 1):
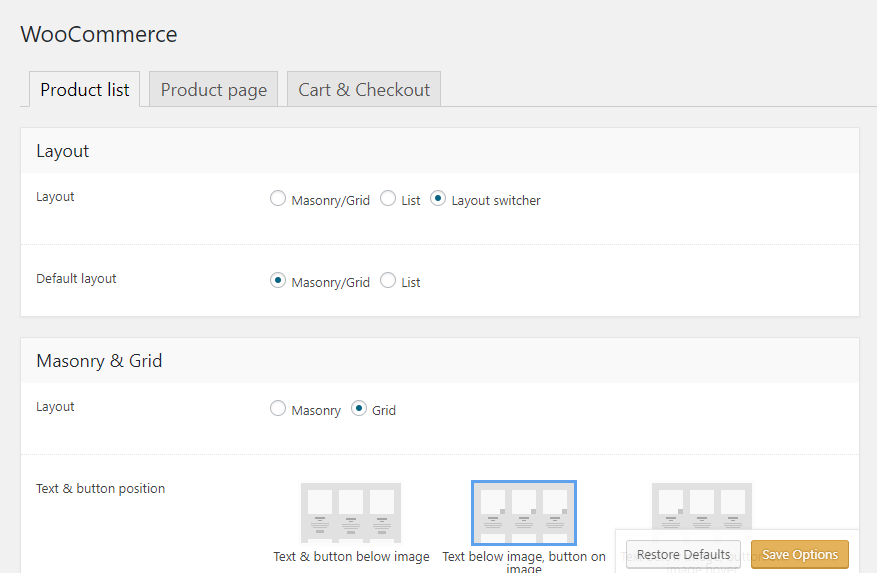
Fig. 1. WooCommerce Settings.
Product list
Here you can:
- choose WooCommerce default layout: masonry or list, or masonry / list switcher ;
- decide where to show product info (on or under product image);
- responsiveness mode / number of columns;
- set gap between images;
- select Loading effect;
- enable/disable “Change image on hover” effect;
- show/hide product title, price, rating, “add to cart” icon, product short description.
Product page
Here you can set:
- maximum number of related products;
- ‘Add to cart’ button in related products;
- product image width;
- width to switch to one column layout;
- enable/disable image zoom on hover.
Cart & Checkout
Here you can specify:
- side column width;
- width to switch to one column layout;
- enable/disable Checkout steps;
Product Category pages will pick Header, Sidebar and Footer settings of the Default shop page (the page you have selected in WooCommerce > Settings > Products > General >
Shop Page).
This Theme Options tab allows you to specify default settings for pages title area.
Layout
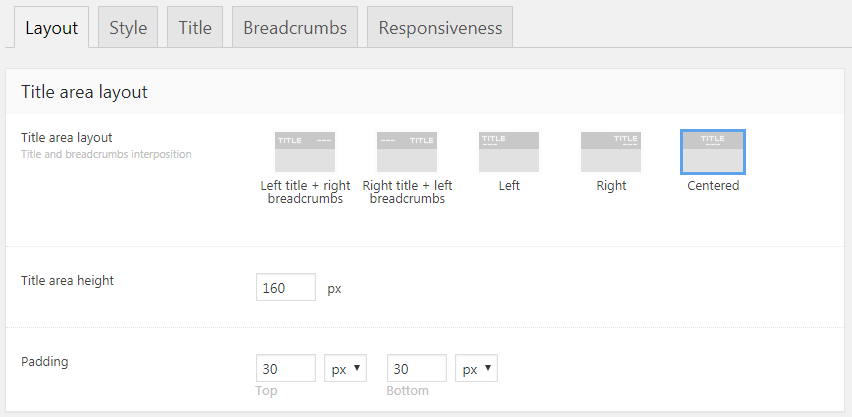
Fig. 1. Page title layout.
Layout tab (fig. 1) allows to:
- select layout of page title area (title and breadcrumbs alignments);
- title area size (height and padding).
Style

Fig. 2. Page title style.
This tab (fig. 2) allows to select page title style:
- plain;
- background color (color, image, border, solid or transparent header);
- gradient (color, solid or transparent header);
- decorative line (color, height, dashed/dotted/solid/double style ).
Title
Specify font settings for the title text in the appropriate tab (fig. 3).
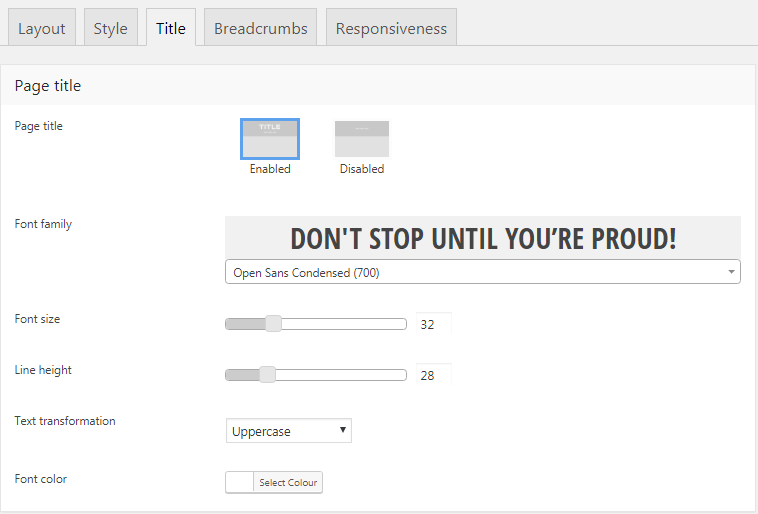
Fig. 3. Title font settings.
Breadcrumbs
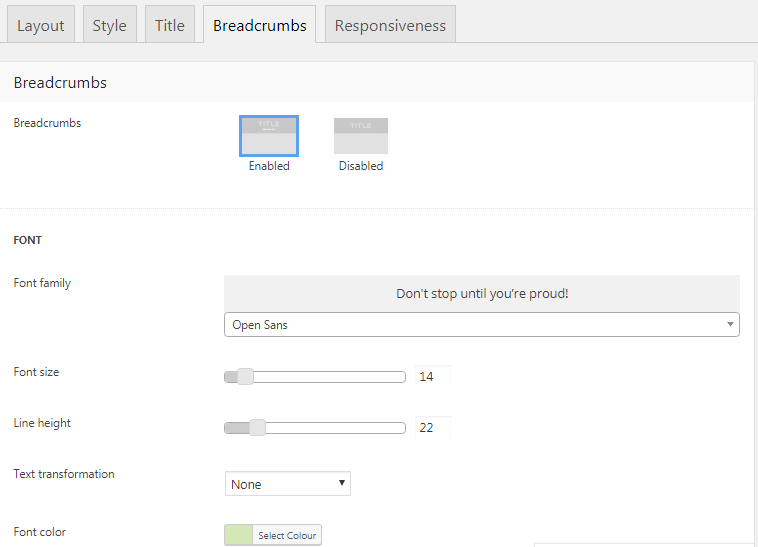
Fig. 4. Breadcrumbs settings.
This tab allows to switch the breadcrumbs on/off, configure the font (fig. 4), apply specific padding and margins and enable background color/border for breadcrumbs background area.
Responsiveness
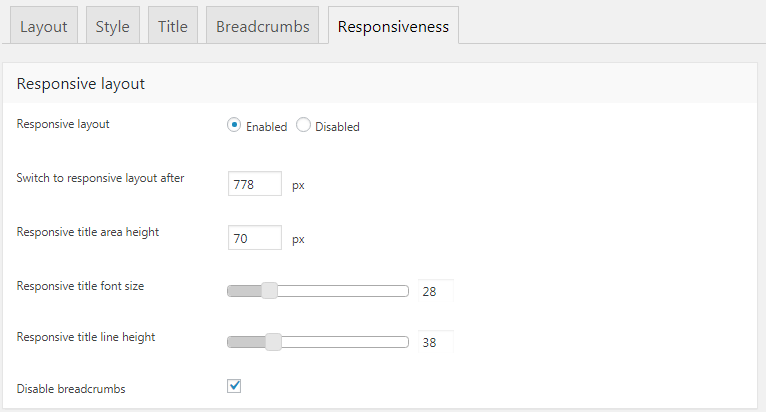
Fig. 5. Page title responsiveness.
The7 theme options also allow to make page title area more compact after a certain browser width (fig. 5). You can specify title area height and font size, as well as disable breadcrumbs.
You can import and export your theme settings here (fig. 1). Copy the encrypted code and store it in a text file to export. Paste the code into the text area and click “save” to import settings.
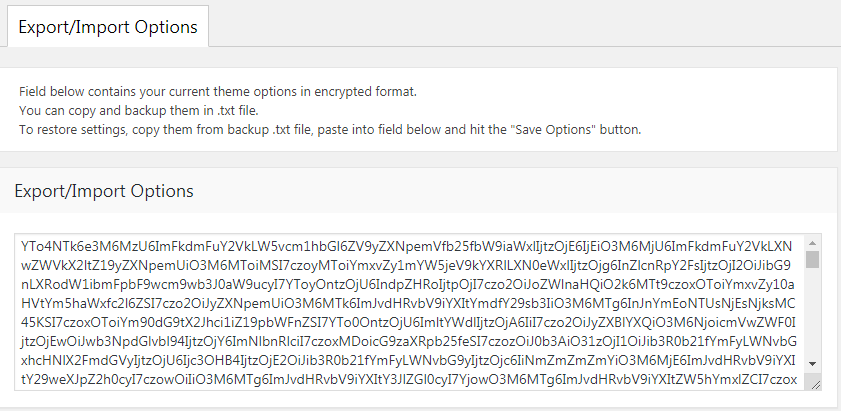
Fig. 1. Theme settings export/import interface.
Note: This tool allows to transfer “CSS” setting only: colors, backgrounds, fonts, etc. Settings like portfolio slug, visibility of meta info, etc. need to be transferred manually.
This section of Theme Options allows to manage appearance of Blog, Portfolio and Gallery posts, if “The7 Elements” plugin is enabled.
General
This tab allows to define style for pagination and category filters (see fig. 1): decoration, line size, font settings, padding and margins, as well gap below category filter and above pagination.
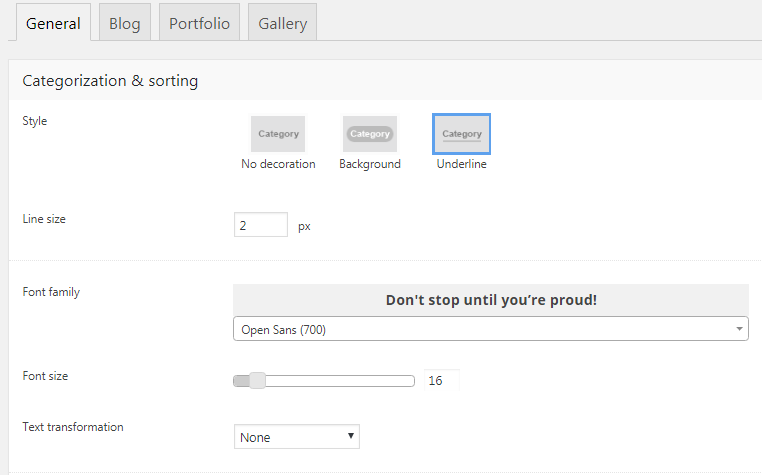
Fig. 1. General settings for The7 post types.
Blog
For Blog posts (fig. 2.1), you can:
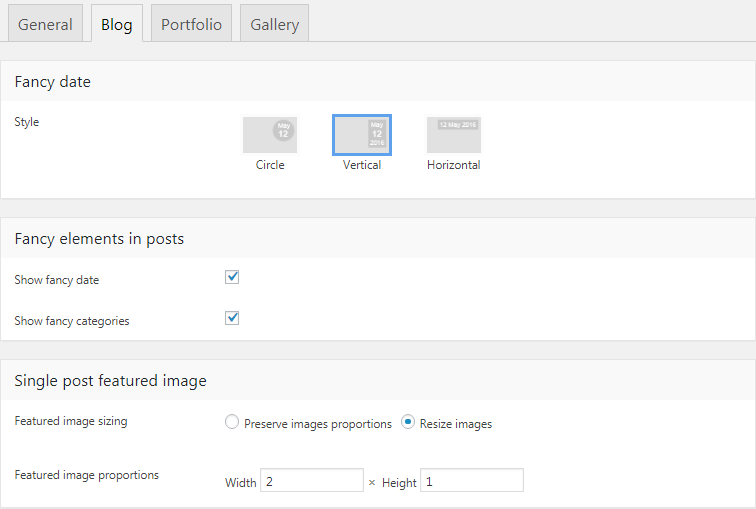
Fig. 2.1. Blog posts settings.
- select “Fancy date” style;
- switch fancy date and fancy categories on/off (fig. 2.2);
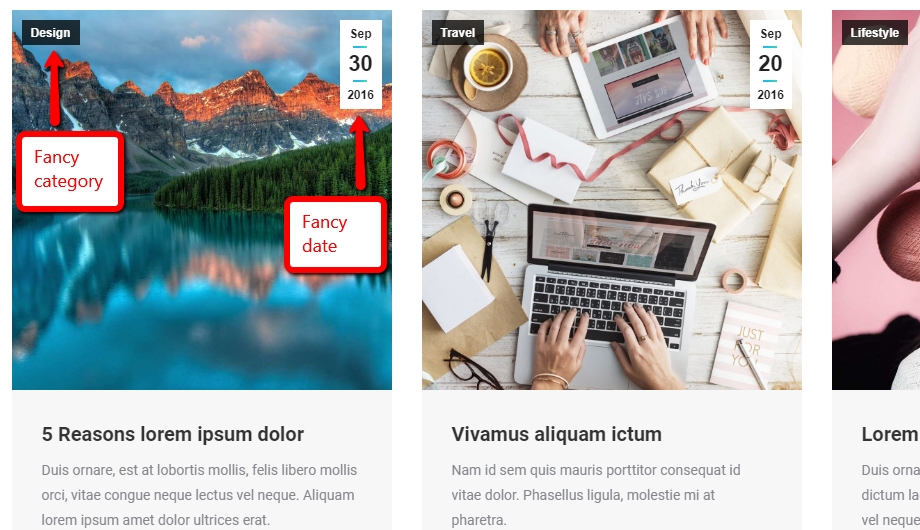
Fig. 2.2. Fancy date and fancy category.
- configure post thumbnail sizing (preserve images proportions or resize images);
- show/hide author info on the post page;
- show/hide “Previous & Next” buttons;
- enable/disable “Back to list” button (fig. 2.3) and add a link to it;
- decide which meta information to show;
- enable/disable related posts, set their number and alter a title of this section.
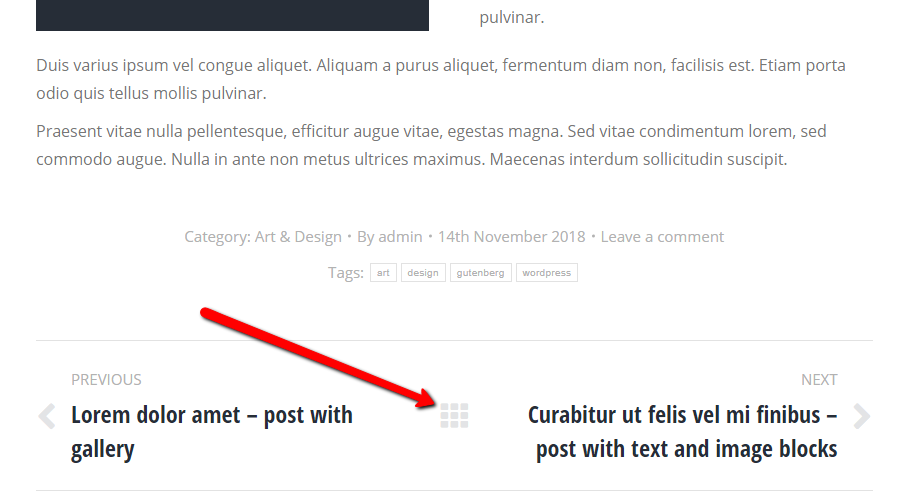
Fig. 2.3. “Back” button.
Portfolio
On this tab (fig. 3.1) you can:
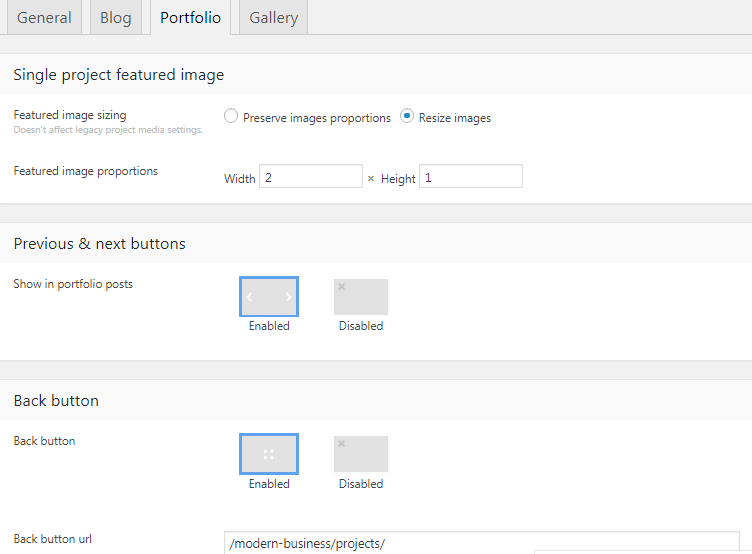
Fig. 3.1. Portfolio posts setting.
- configure post thumbnail sizing (preserve images proportions or resize images);
- show/hide “previous & next” buttons;
- enable/disable “back to list” button and add a link to it;
- decide which meta information to show;
- enable/disable related posts and set tons of settings for their appearance;
- decide what label should be written for its parent element in breadcrumbs (fig. 3.2):


Fig. 3.2. Label for a parent element in breadcrumbs
Gallery
You can configure the following options for Photo Albums (fig. 4) here:
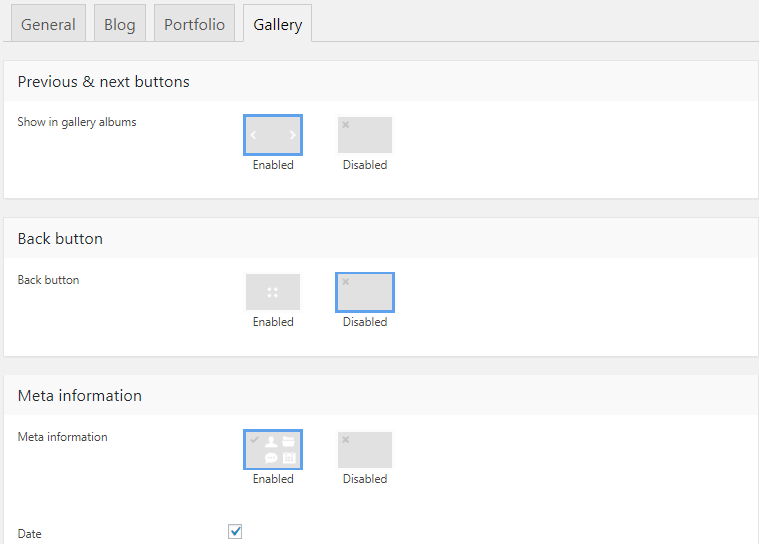
Fig. 4. Photo Albums settings.
- show/hide “previous & next” buttons;
- enable/disable “back to list” button and add a link to it;
- decide which meta information to show.
You can disable specific theme post types through Dashboard -> The7 -> My The7. You can also change portfolio, album and team slug there.
A child theme is a theme that inherits functionality of another theme, called the parent theme (The7). Child themes allow you to modify parent theme or implement additional functionality. Child theme is the best, safest, and easiest way to modify an existing theme, whether you want to make a few tiny or extensive changes. By keeping your customization in a child theme, you can always keep the parent theme up-to-date without losing your modification.
Basic example of a child theme is provided within full theme package: The7_v.x.x.x.zip/Developer Tools/the7-child-theme.zip
Unzip it into …/wp-content/themes/ folder. There is nothing specific about child theme functioning – it works the same as a standard WP child theme. You can find more information here:
Besides the default templates (header.php, footer.php, page templates, etc), if you want to modify any core functions from ../dt-the7/inc/helpers.php, template-hooks.php, etc., copy the entire function which you want to modify to your child theme’s functions.php and edit it there.
Copy Parent theme setting to Child
When activating a child theme, settings are reverted to default. So if you decide to use a child theme later (after configuring a parent theme), please use Theme Options > Import & Export to transfer settings.