The7 Design Wizard simplifies the process of theme configuring: choose header layout, upload your logo and set up background, fonts and accent colour. The7 will intelligently calculate the best values for advanced options available in the theme.
Wizard works in two modes: it allows to “Customize Existing Design” (Only if have configured theme options already) or “Start From a Scratch” (fig. 1).
Important: Wizard will always re calculate the best values for advanced options based on your settings. so its better use it only when you start fro scratch and once you have configured basic settings better to use dedicated Theme options section for fine tuning.
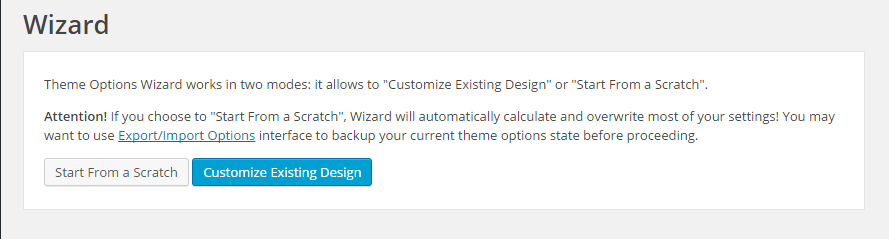
Fig. 1. Wizard mode.
In Wizard > General (fig. 1.1) you need to:
- select site layout: boxed or wide;
- set background color and image “under the box”;
- set basic site background color.
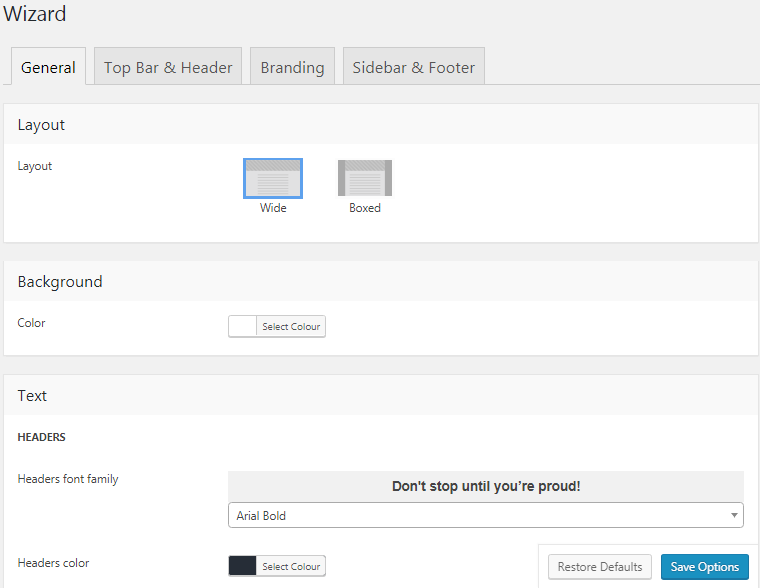
Fig. 1.1. Layout options.
As per fig. 2, select:
- font-family and color for content text;
- font-family and color for header text;
- color accent;
- one of 3 predefined button styles: flat, 3D, shadow.

Fig. 2. Wizard Options
In Wizard > Top Bar & Header you can:
- select one of seven header layouts (fig. 3);
- fine-tune elements alignment;
- adjust colors of background and fonts.
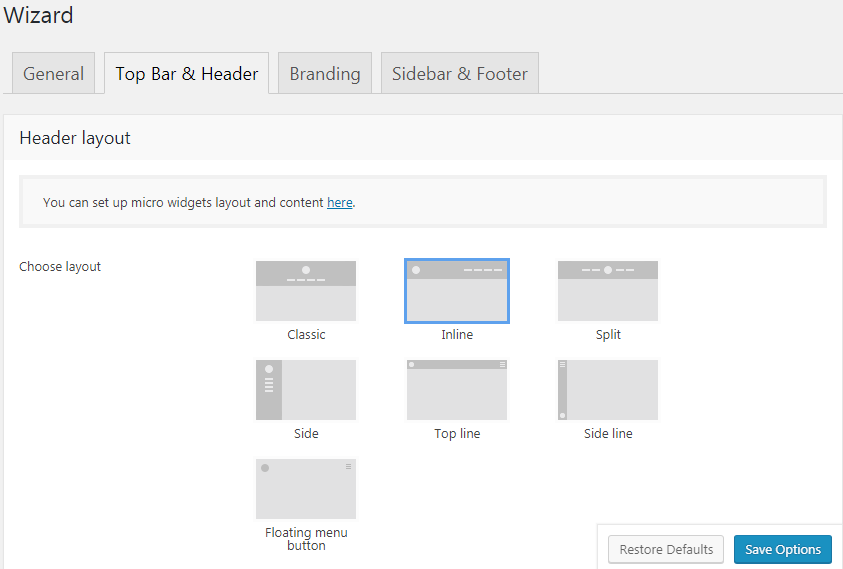
Fig. 3. Header Layout.
In the Top bar section (fig. 4), you can specify:
- elements font color;
- background color.
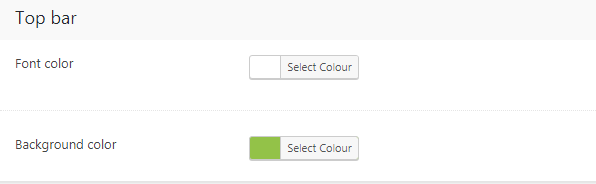
Fig. 4. Top bar Settings.
Then you can also configure Floating navigation and Mobile header (fig. 5):
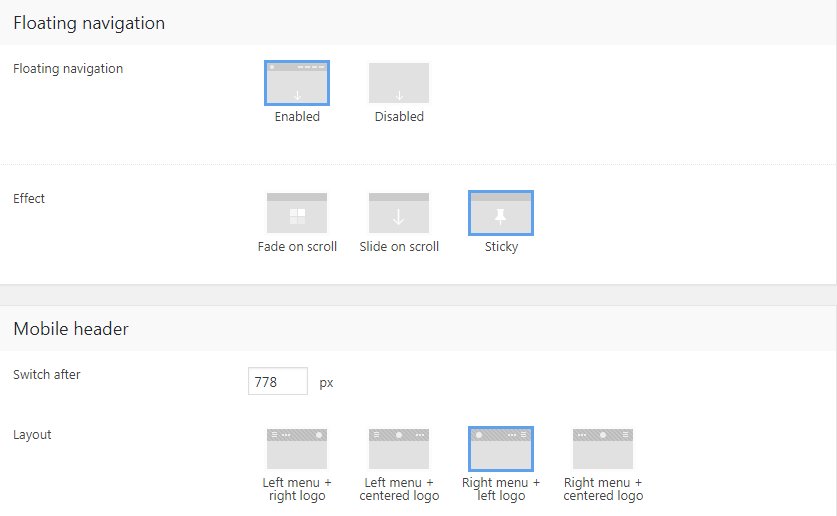
Fig. 5. Floating navigation and Mobile header settings
Wizard > Branding
In this section of the page, you can upload logos for different locations at your site, favicon, set up copyright information, etc. (fig. 6):
- Main Logo: Upload logo for ordinary desktop devices and a high resolution logo for retina devices.
- Transparent header: Logo to display on pages using Transparent header.
- Floating navigation: Enable/disable and upload logo in floating menu (menu which appears on the top, when you scroll down the site).
- Mobile: Logo to display on mobile devices.
- Bottom bar: Logo to display in the bottom bar of the site.
- Favicon: Upload favicon, please refer here if you’r not sure about what is a favicon.
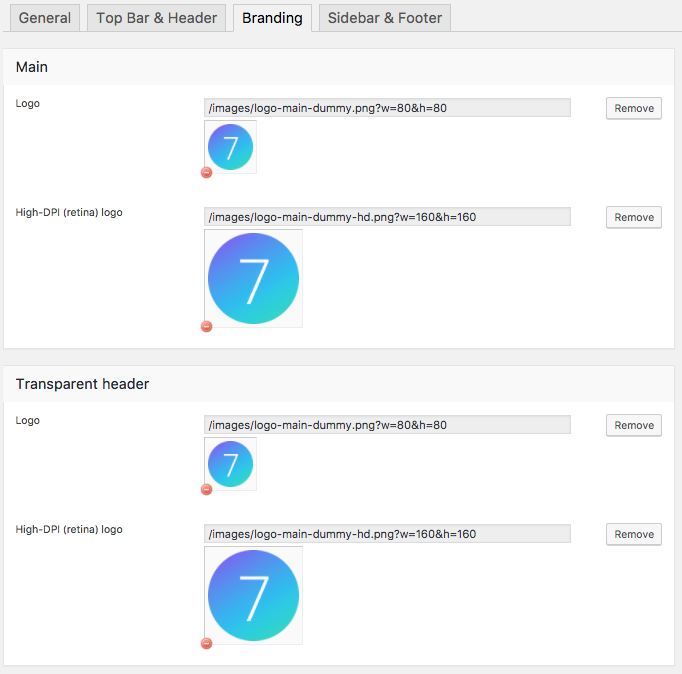
Fig. 6. Branding Settings.
- Enter copyright information (fig. 7).
- Enable/disable Dream-Theme credit in your bottom bar.
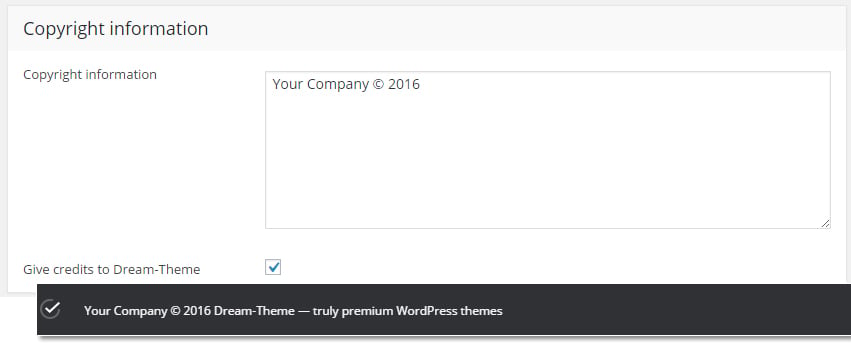
Fig. 7. Copy right & Credits
In Wizard > Sidebar & Footer (fig. 8):
- choose the sidebar style;
- background and text colors of the footer and bottom bar;
- footer layout: number of columns.
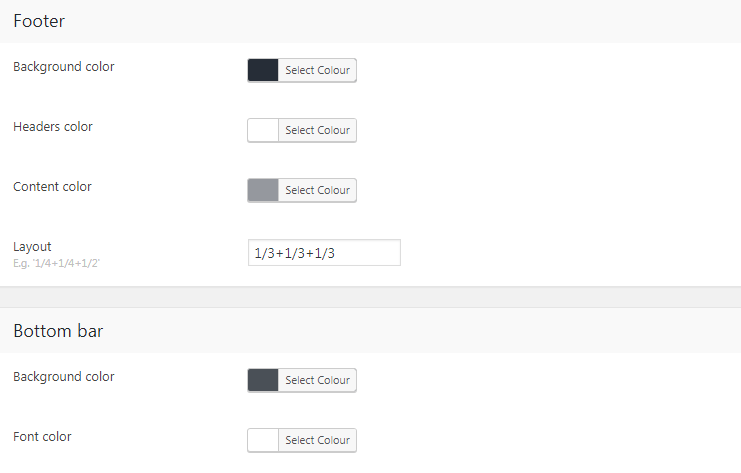
Fig. 8. Sidebar and Footer Settings.